
This article shows you how to develop a simple WPF application with step by step explanation.
Creating a WPF application is as easy as developing other application types in Visual Studio.
This steps is based on Visual Studio 2012 Edition.
1. Create a new project
To create Choose New Project... From Start Page
or On the menu bar, choose File --> New --> Project...

or can also use the shortcut Ctrl + Shift + N.
Then the dialog box will be shown as below

In this window, for our sample application, we are choosing the following:
Visual C# as Language of template from Templates.
then Windows from Template group
WPF Application as Template
we can change the solution name ,project Name and location for where this will be stored. Then click on the OK button.

Now, the WPF Designer shows design and XAML view of MainWindow.xaml in split view. We can slide the splitter to show more or less of either view and choose to see only Design view or XAML view.
2. Add Controls
The Toolbox window displays controls that we can add to our projects. To open Toolbox, choose Toolbox on the View menu.
we can drag and drop different controls onto the surface of the designer we are using, and resize and position the controls.
In These Project We Use Label control from Toolbox , drag and drop label to Main Window , then we can see the XAML code for that Label.

3. Change Properties
Then We can Change The Content,Alignment and Color Like Properties of that controls from Properties window.To open Properties Window, choose Properties Window on the View menu.
3. Start WPF Application
Then Start Our WPF Application Using Start Button or choose Debugging from DEBUG menu.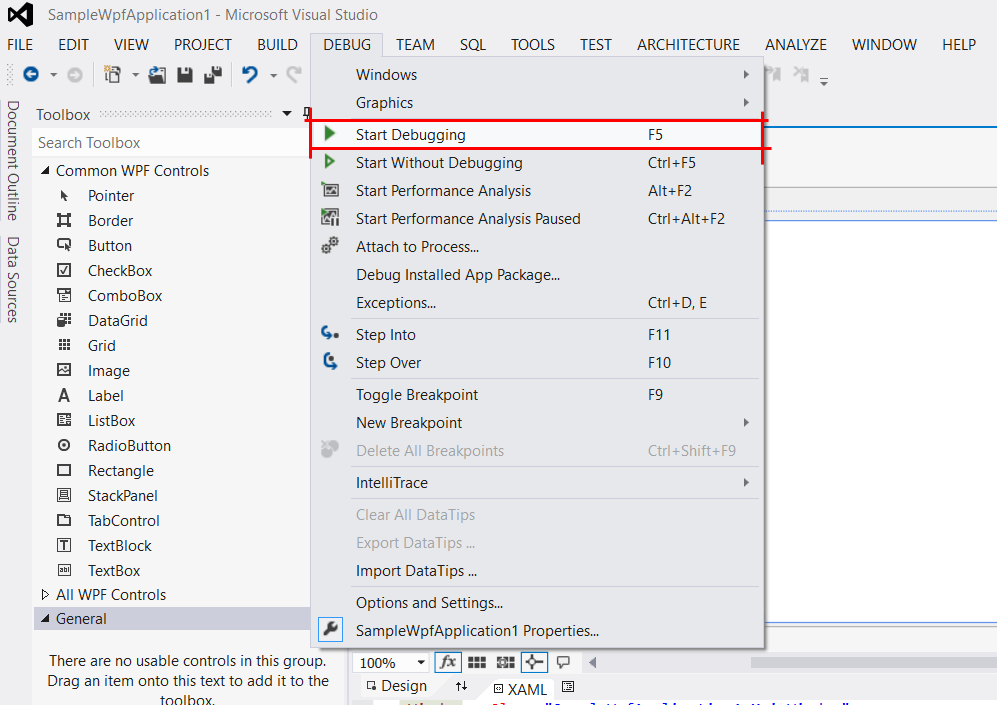
Then We Can See Our Application shown as below

Comments
Post a Comment